


 (3 votes, average: 3.67 out of 5, rated)
Mozilla Firefox: How to Get Back the Green Padlock Icon for HTTPS Websites and Not Secure Message for Non-HTTPS Websites?
It is absolutely important to check if the website you are visiting is safe. If you are someone who banks online and uses other online services, you must have checked whether the website you are using is secure by checking for the HTTPS protocol or the green padlock icon. These are visual indicators that indicate that the website you are accessing is secure to do transactions.
The green padlock icon shows that the connection between your browser and the server is secure.
But Mozilla Firefox web browser that earlier used to display a green lock icon for secure HTTPS websites now displays a gray padlock icon instead. You would have noticed this change if you are using the new version of Mozilla Firefox.
Here’s our article that explains why the green padlock icon is not visible and how to get it back.
Why Do You See a Gray Lock Icon and Not a Green Lock Icon?
Mozilla Firefox recently released the Mozilla Firefox 70 web browser. This version comes with newer security and privacy indicators in the URL bar. The green padlock icon has been replaced with the gray padlock icon.
Firefox shows a crossed-out lock icon for non-HTTPS sites, those delivered via HTTP and FTP protocols. Firefox displays this indicator for insecure pages. Now more than 80% of pages load via HTTPS. So it has made changes to the green icon and has changed it to gray. Firefox has made this change to stop emphasizing the secure connection and put more emphasis on insecure connections, i.e. non-https sites.
How to Restore the Green Padlock Icon in Firefox?
The green lock icon is not gone forever and you can restore the iconic green padlock by following the steps mentioned below.
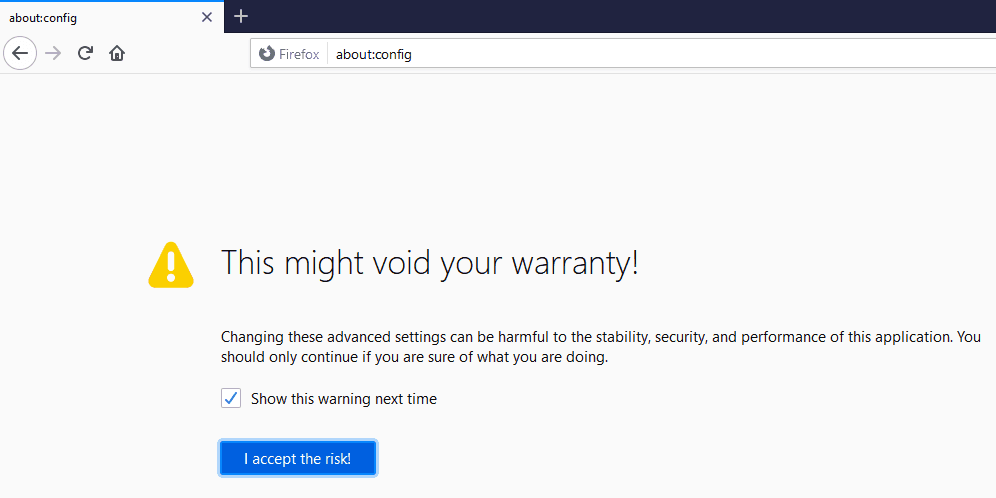
- Open the Mozilla Firefox browser and enter about:config in the address bar.
- When you do that, you will see a warning message saying that this action could void your warranty. Click on the “I accept the risk” button to proceed.
- In the search box, type security.secure_connection_icon_color_gray.
- Change its value from “True” to “False.” Just right click on “True” and click on Toggle to change its value.

Now, you can test whether the changes have been applied by visiting an HTTPS-enabled website. You will now see the green padlock icon in the address bar. If you do not wish to see the green padlock and restore the gray icon, you just have to repeat the same steps and toggle the value to “True” from “False.”
Display the Not Secure Warning for Non-HTTPS Websites
Follow the below steps if you wish to see the “Not Secure” warning when you visit a non-HTTPS site, along with the crossed-out padlock icon.
- Launch a new tab in the Mozilla Firefox web browser.
- Type about:config in the address bar.
- Type security.insecure_connection_text.enable in the search bar to see the correct setting.
- Toggle the preference from “False” to “True” under Value by right-clicking on the value and selecting Toggle. This will help enable the “not secure” text.

Now, you can open a non-HTTPS website and you will be able to see the “not secure” warning. To disable it, repeat the same steps and change back the preference to False.
Restore EV Certificate Details in Firefox
Firefox is now not displaying Extended Validation certificate information. However, if you wish to see the Extended Validation certificate information, you could try the following method.
- Launch the Mozilla Firefox browser.
- Go to about:config.
- To proceed, click on Yes, I accept the risk!
- Type security.identityblock.show_extended_validation.
- Change the preference to “True” from “False.”

The change will be applied immediately and you can visit an EV enabled website to check if you are able to view the certificate details. You can try refreshing the site if you still do not see the details. To restore to default, you can follow the same steps and set the value to False.